Installing Your Glass Break Sensor
Glass Break Sensor Install Guide PDF
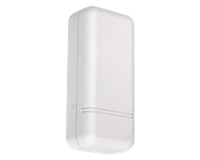
Your glass break sensor is a device that can be used in your home to monitor areas with large glass windows or doors.
It monitors the area as a perimeter defense sensor, measuring frequencies from both sound of broken glass and the impact of an object.
Installation Parts
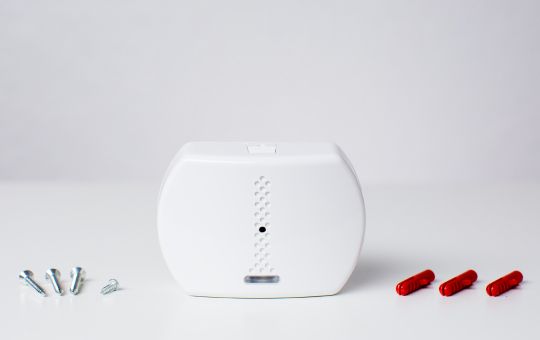
- Glass break sensor, which includes a cover and backplate
- Mounting screws and anchors
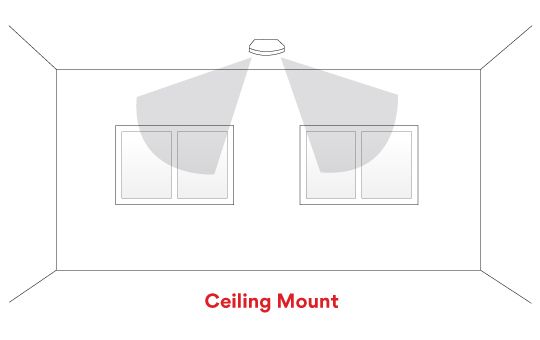
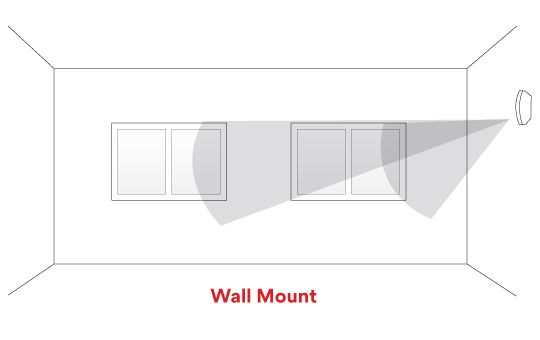
Choose a location
Glass break sensors should be located within 20 feet of the window or group of windows that are being monitored.
You can place them on walls or ceilings, but they should be up high and out of the way of obstruction. When placing on a wall, it should be 6.5 to 8.5 feet above the floor.
Keep in mind, because this sensor depends on sound, it should not be placed behind anything that would block the sound from reaching the device. Avoid small, humid, or noisy areas such as kitchens and garages.
Installation instructions
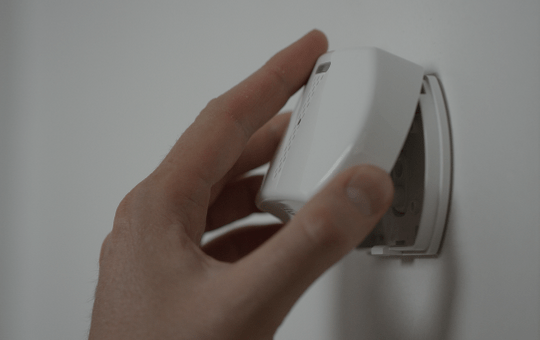
1. Press and open the tab located on the bottom of the device, to separate the sensor from the backplate.

2. Place the backplate onto the wall with the ‘up arrow’ facing up.
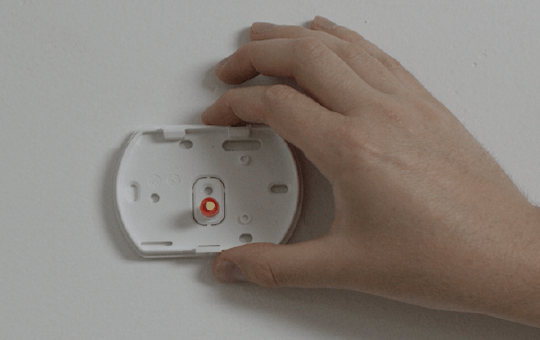
3. Secure your backplate against the surface, carefully filling in the 2 screw holes with the provided screws.
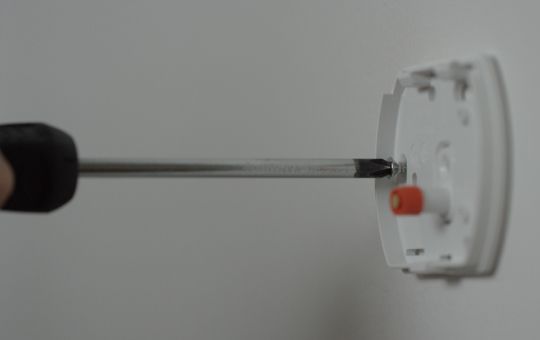
4. Take your cover, hook it onto the two tabs of your backplate, and snap into place.
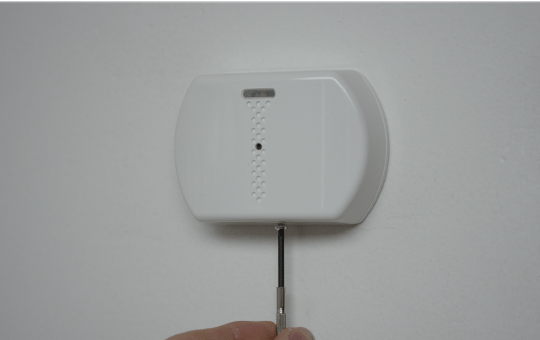
5. Use the tiny screw included to secure the glass break cover to the backplate on the bottom of the device.
- Installation Parts
- Choose a location
- Installation instructions