Installing Your Entry Sensors
Entry Sensors Install Guide PDF
Installation Parts
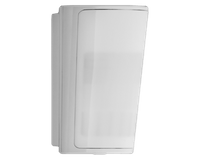
- Entry sensor, which includes 1 contact (the larger piece) and 1 magnet (smaller piece)
- Double-sided adhesive tape
- Alcohol wipes to wipe down surfaces

Choosing a location
Your sensors should be placed indoors only.
Choose a location on your door or window, preferably where the sensor or magnet cannot easily be knocked off.
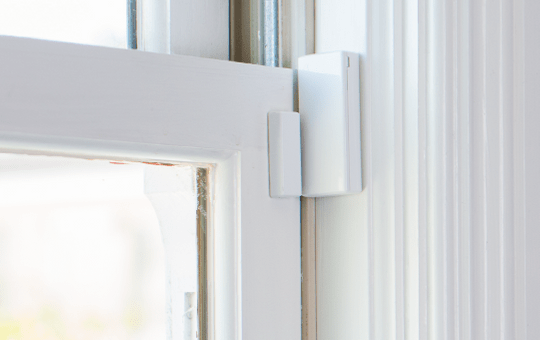
Sensor positioning
When placing on doors and windows, the magnet and contact should be no more than a ½-inch apart, and with the arrow marks aligned.

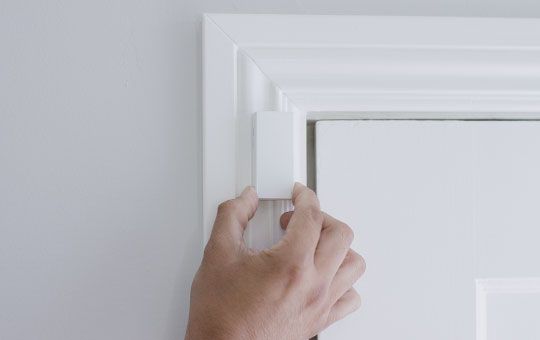
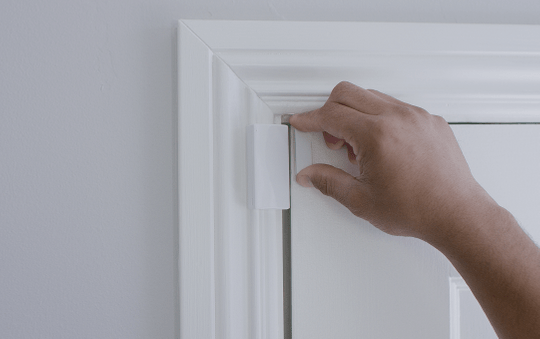
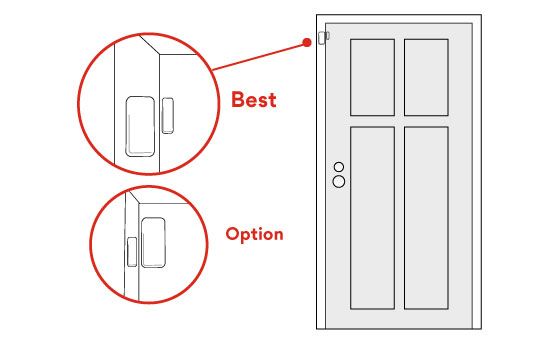
When placing on doors
A good location is at the top corner of the opening side of the door.
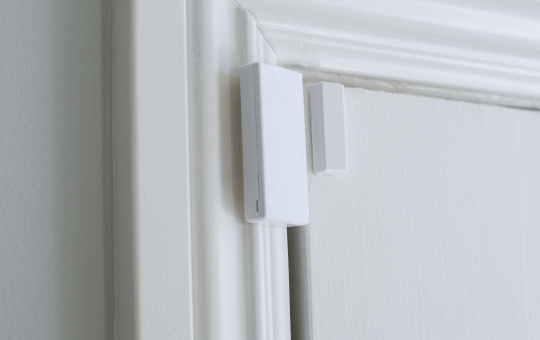
The best method is placing the contact (larger piece) on the door frame and the magnet (smaller piece) on the door itself.
If your door frame is very thin or has a custom frame that won’t allow this placement, you can swap the positioning of the magnet and contact.
When placing on windows
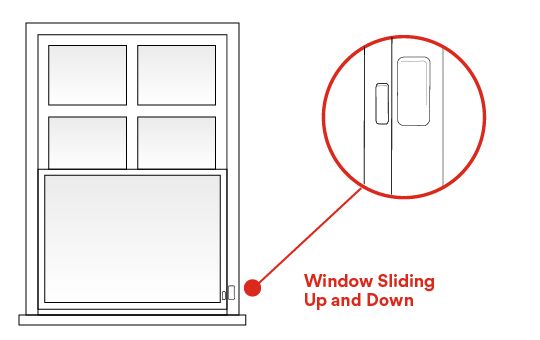
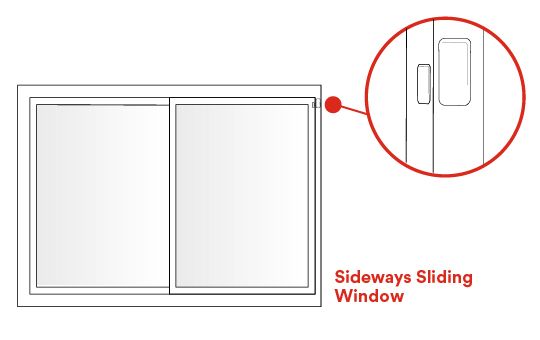
For windows, pay particular attention to how the windows open.
You can put the contact on the outer frame of the window and the magnet to the opening window frame itself. See the diagrams below for placement on a window that slides up and down, and one that slides sideways.
Avoid placing the sensors near blinds, which can obstruct and knock off sensors.
Installation instructions
1. Using the alcohol wipes provided, wipe down the areas of doors and windows that you’ll place the sensors on. Then wait until they’re dry.
If you need to remove existing sensors from a previous security system, call to get assistance from a Smart Home Pro.

2. Remove the sticky tape off the back of both sensor parts.
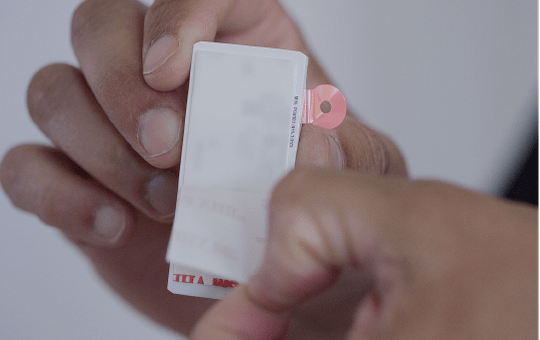
3. Place your magnet and contact, and press and hold for 10 seconds. Make sure to align the arrow marks on the equipment so they line up. Also, make sure also they will not bump into one another.