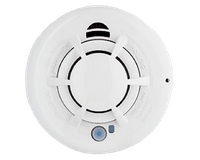
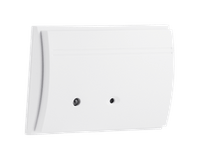
Installing Your Carbon Monoxide Detector
Carbon Monoxide Detector Install Guide PDF
Your carbon detector alerts you to the presence of carbon monoxide in your home.
It can alert you locally and alert the monitoring center, sending emergency services to assist.
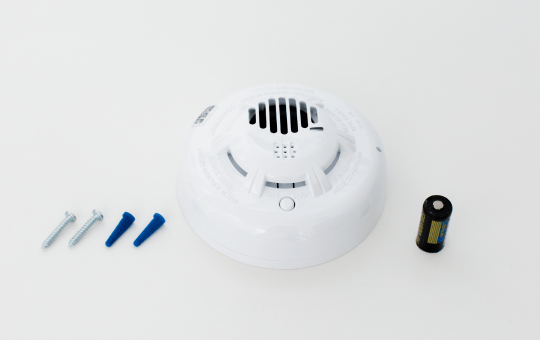
Installation Parts
- Your detector, which has a detachable cover and a flat backplate
- 1 lithium battery
- Screws and wall Anchors
Choosing a location
The most important place for your detector is inside or next to bedrooms, since the effects of carbon monoxide are hardest to detect while sleeping.
The carbon detector can be placed:
- On the ceiling, at least 12 inches away from any wall
- On a wall, at least 6 inches from the ceiling but no lower than a light switch
Avoid placing your detector
- Outside
- Above a sink, cooker, stove, or oven
- With 5 feet of any cooking appliance
- Next to any door or window affected by drafts
- In or below a cupboard
- Next to furniture or curtains, which can obstruct air flow
- Any place where dirt or dust can block the sensor
- Any place where it can be knocked down, damaged, or accidentally removed
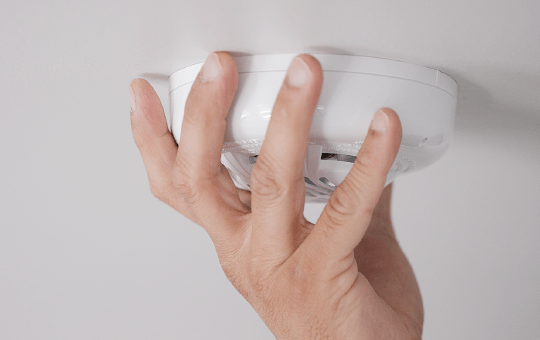
Installation instructions
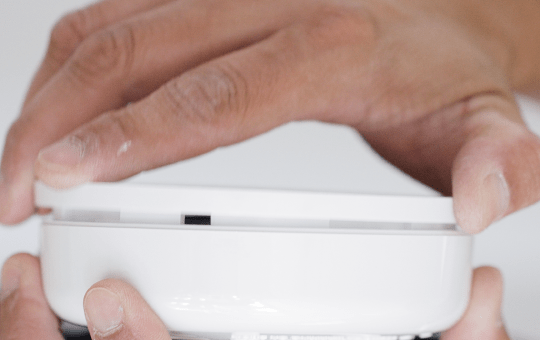
1. Disconnect the detector from its backplate, by simply twisting the detector counter-clockwise.
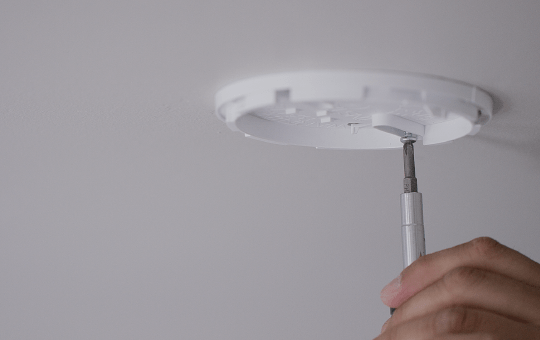
2. Using the 2 screws, attach the base to the desired location.
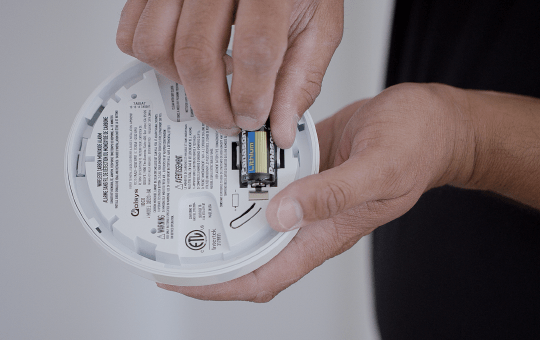
3. Insert the battery provided into the CO detector.
4. Twist the detector onto the base. Keep in mind, there are markers provided on the base and detector to assist with alignment.
Testing the carbon monoxide detector
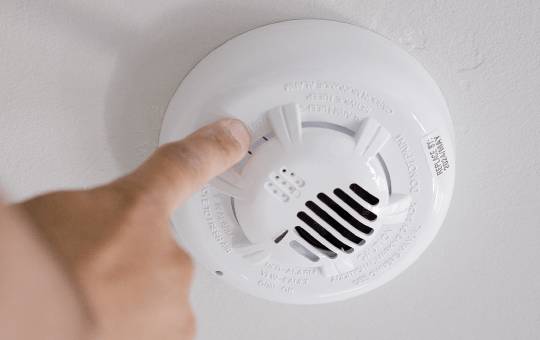
1. Make sure your system is in test mode.
2. Press and hold the test button until you hear the detector start beeping. You'll also see its LED light blink red, yellow, and green.
3. Release the button. The detector will reset itself once the test process is finished.