Installing Your Battery Doorbell Camera
Battery Doorbell Camera Install Guide PDF
Smart Chime Installation Guide PDF
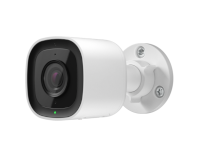
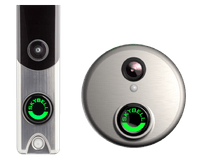
This completely wireless video doorbell gives you the flexibility to choose the perfect installation location at your front door. See, hear and speak with visitors at your front door from anywhere at any time. Plus, 1080p HD video with a 160° field of view gives you a clear picture of your front porch and instant alerts let you know when someone rings your doorbell or motion is detected.
For installation support from a Smart Home Security Pro, call us at (877) 998 – 1457.
Installation Parts
- Battery Video Doorbell
- Mounting plate
- 10° tilt wedge
- Battery pack
- Charging cable
- Mounting screws (2)
- Mounting anchors (2)
- Wedge screws (4)
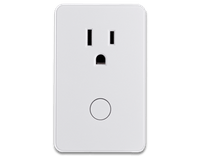
- Smart Chime
Tools Required
- Drill
- Screwdriver
- Level
- Pencil
- Wi-Fi connection to broadband (Cable, DSL, or Fiber Optic) internet
- A computer, tablet, or smartphone with WiFi
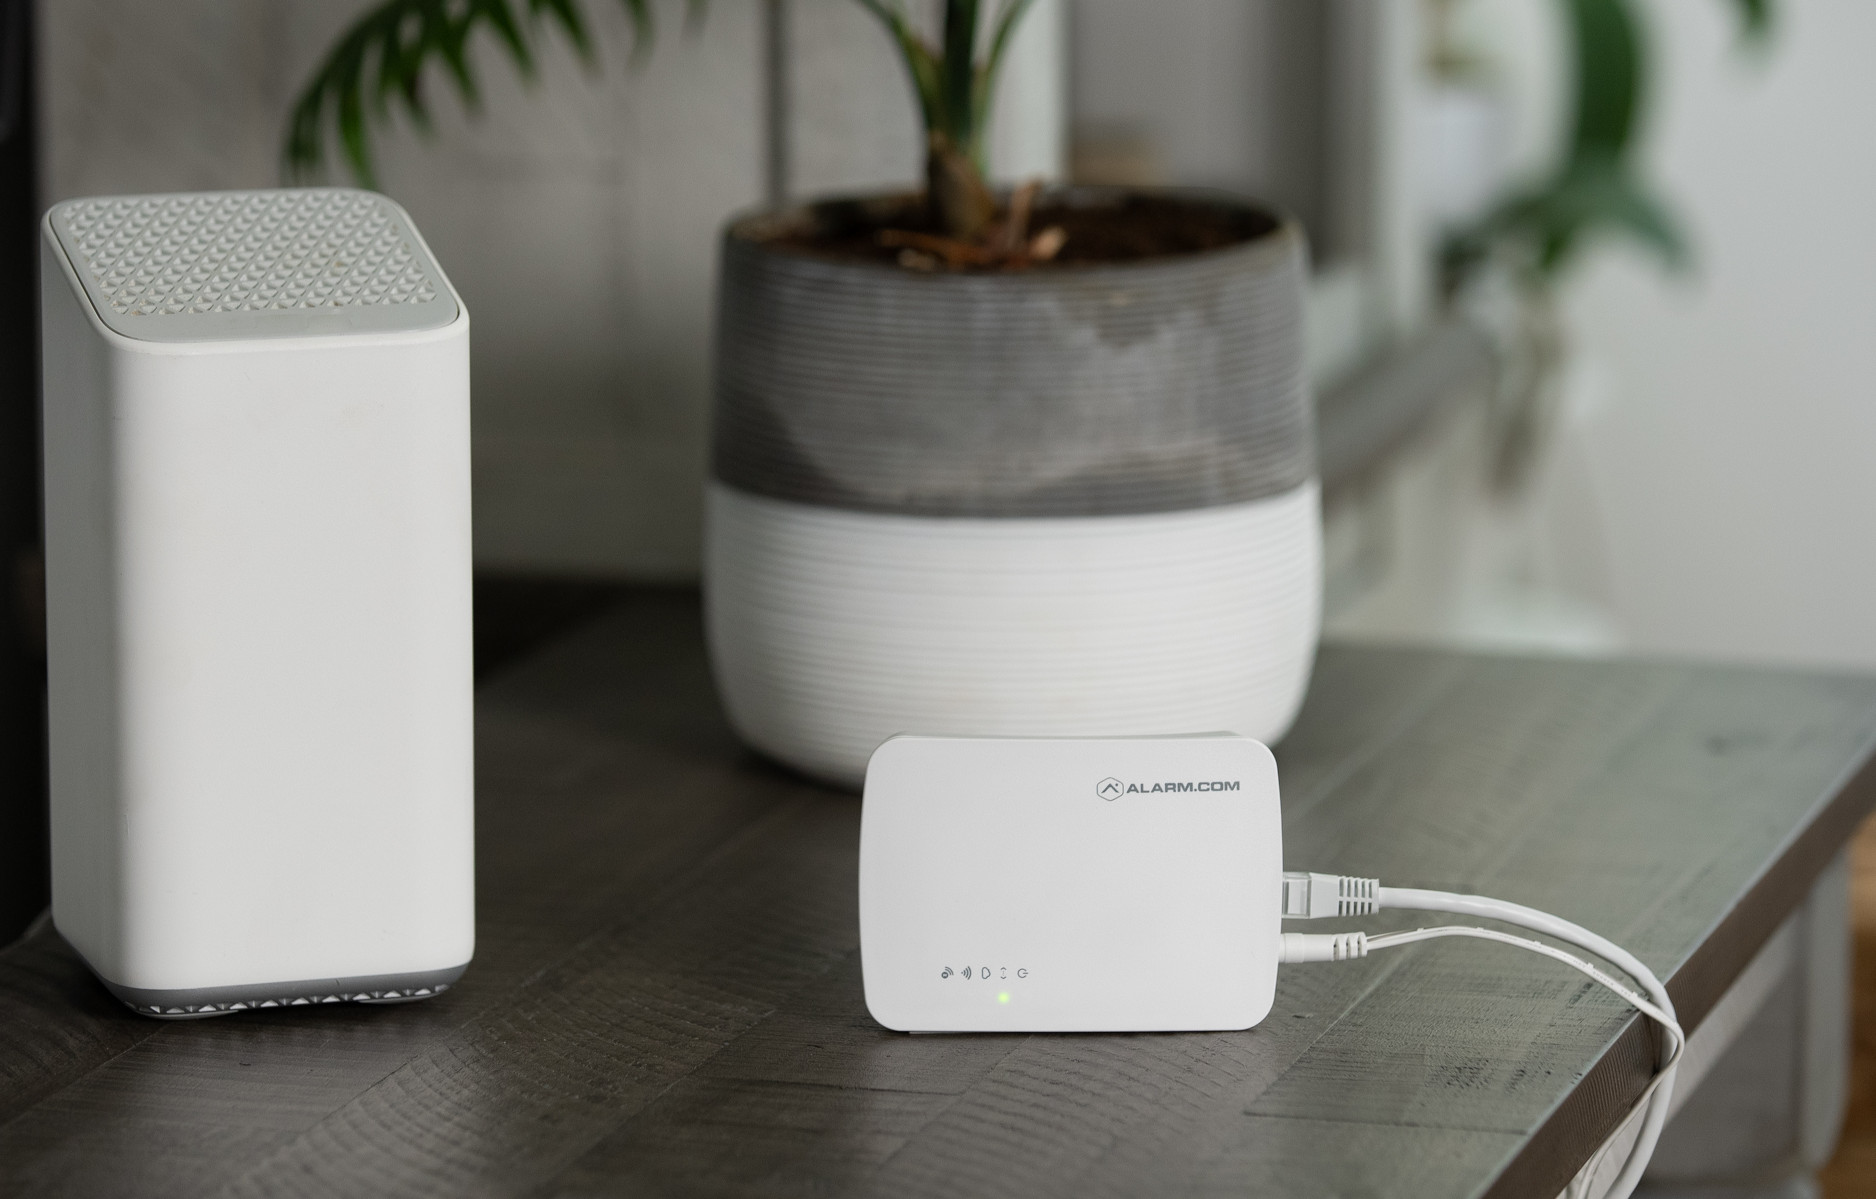
- Smart Gateway (pre-configured to your camera and shipped with the rest of your devices)
Installation Instructions
Check WiFi Upload Speed
Make sure the WiFi at the doorbell location has an upload speed of at least 2Mbps. You can use your smartphone or call a virtual Smart Home Security Pro for more recommendations on how to assess upload speed.
1. Make sure that your Smart Gateway is powered up and connected to your router (see separate quick install guide for this device). The Gateway will provide a dedicated network for your cameras in your system.
2. Plug in the Smart Chime in a location where you want to be able to hear the doorbell ring. Once you see solid blue lights, the Smart Chime is connected.
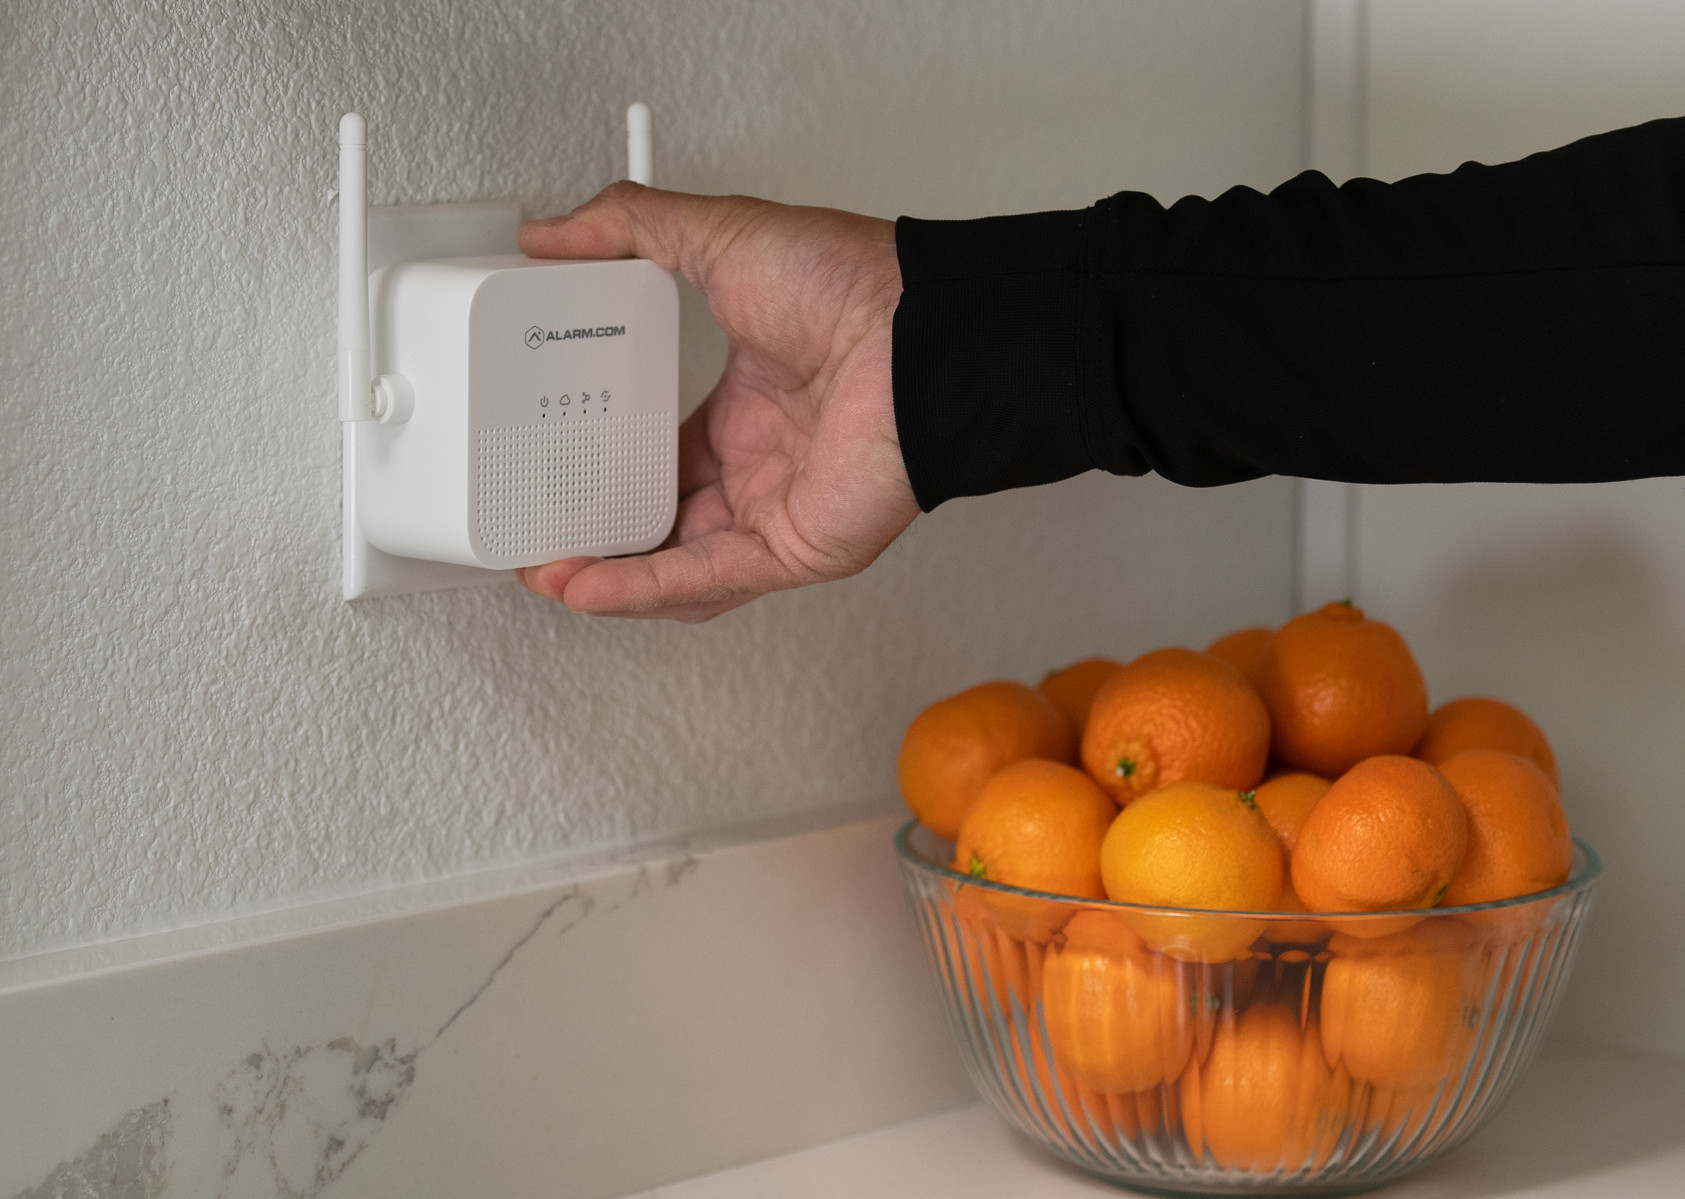
3. Once the Smart Chime is connected, the light on the doorbell should be solid green for a few minutes indicating that it is also connected to your account.
4. Identify a location on the side of your doorframe to mount your doorbell. We recommend a position approximately 4 feet above the ground for an optimal field of view.
5. Place the mount at your desired location. Use a level to ensure the mount is parallel with the ground. Use a pencil to mark the two holes of the mount. (If you plan to use the title wedge, see below for alternative instructions.)
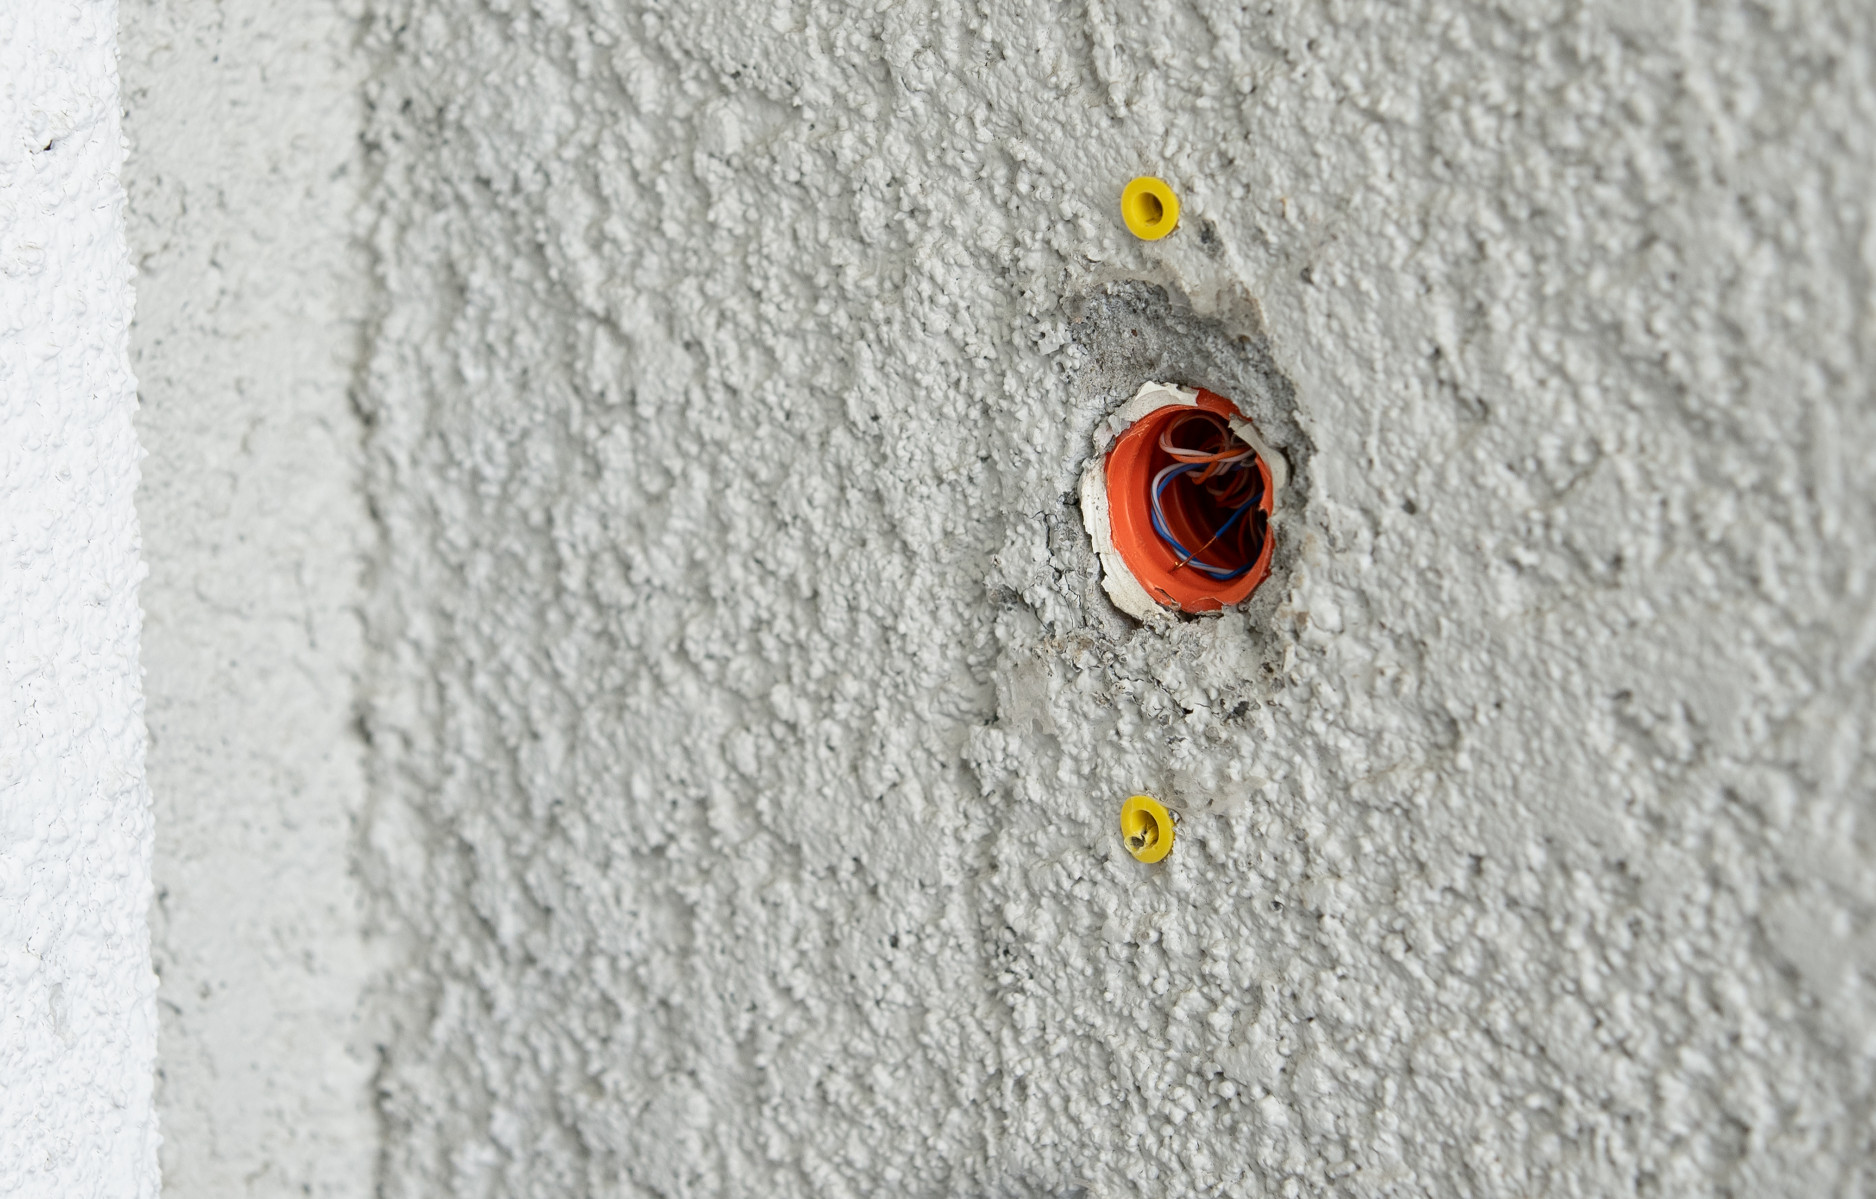
6. Use a 1/4” drill bit to create appropriately sized holes for the supplied anchors at your marked locations, then insert the anchors.
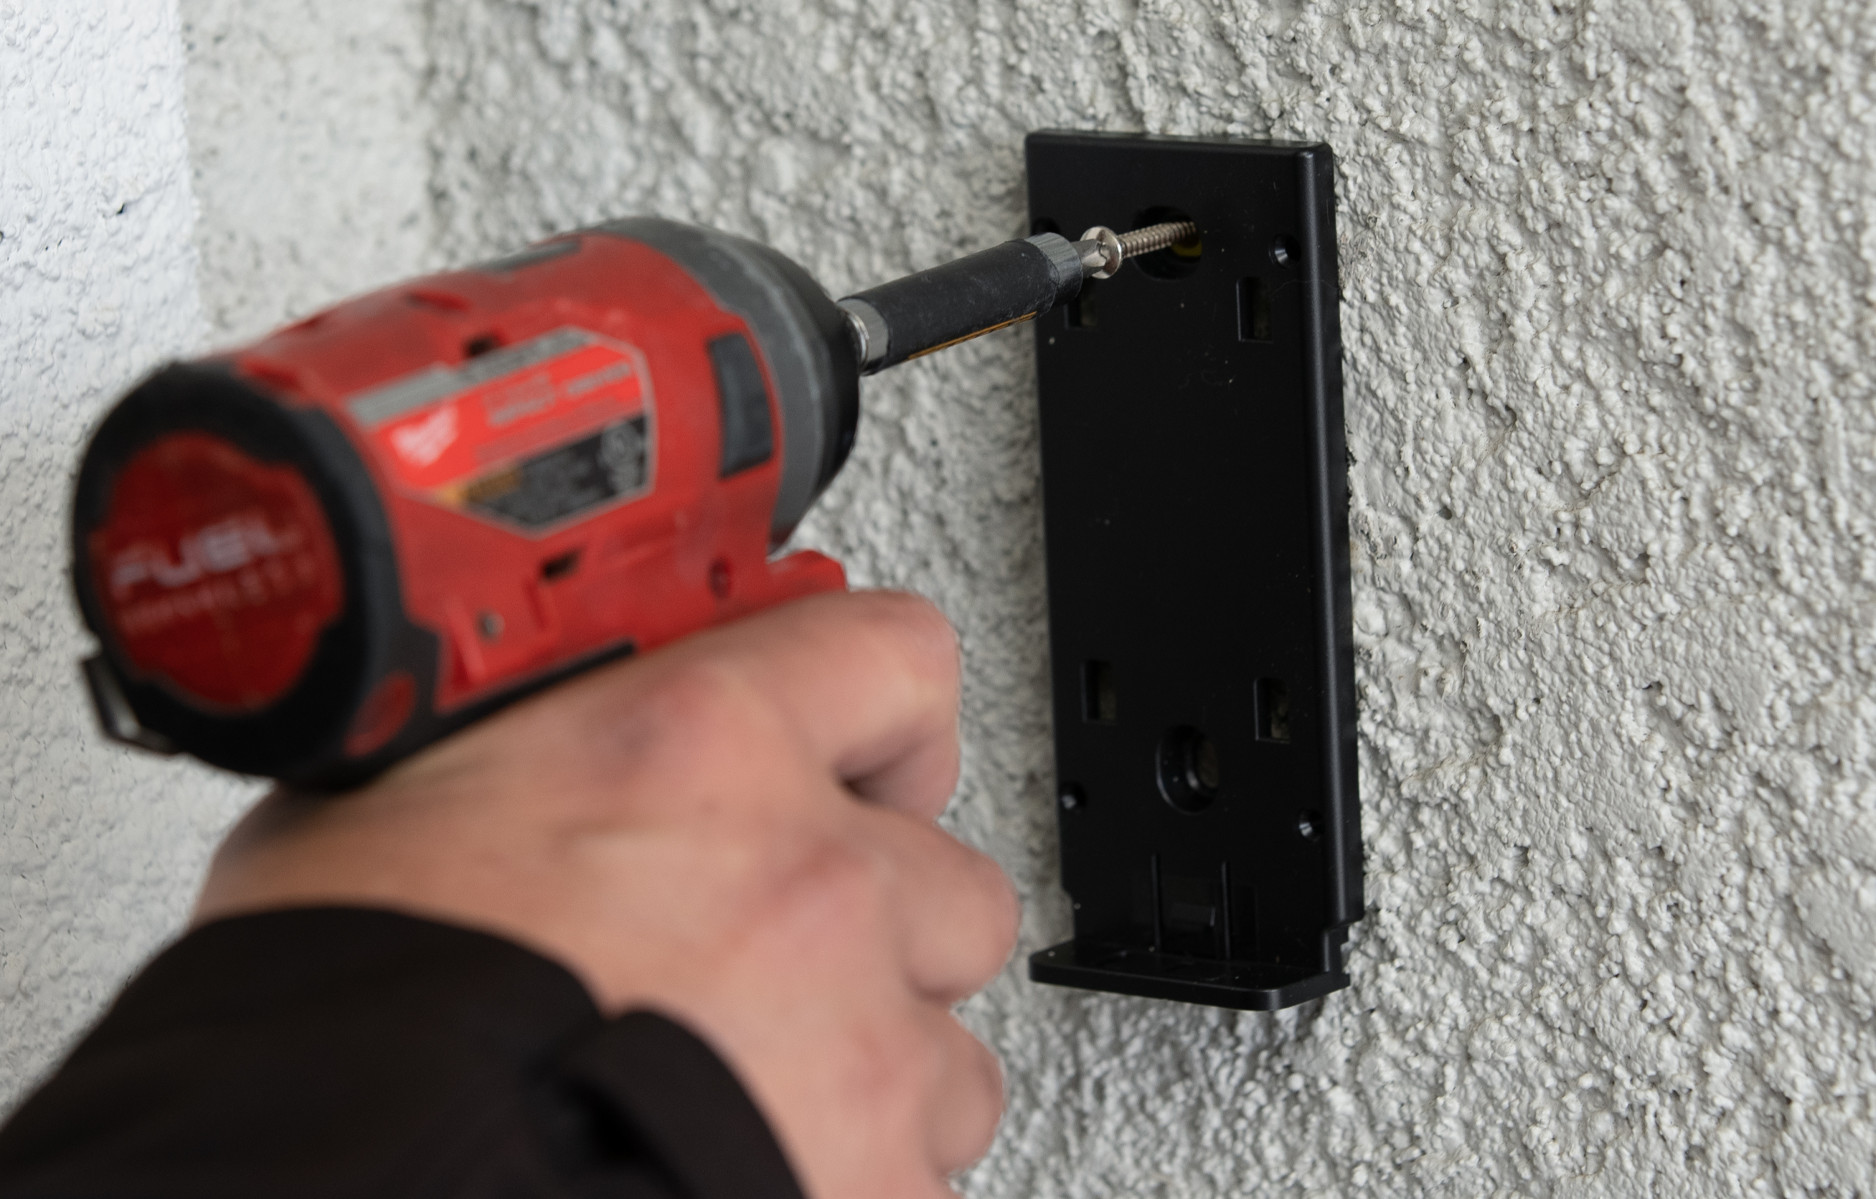
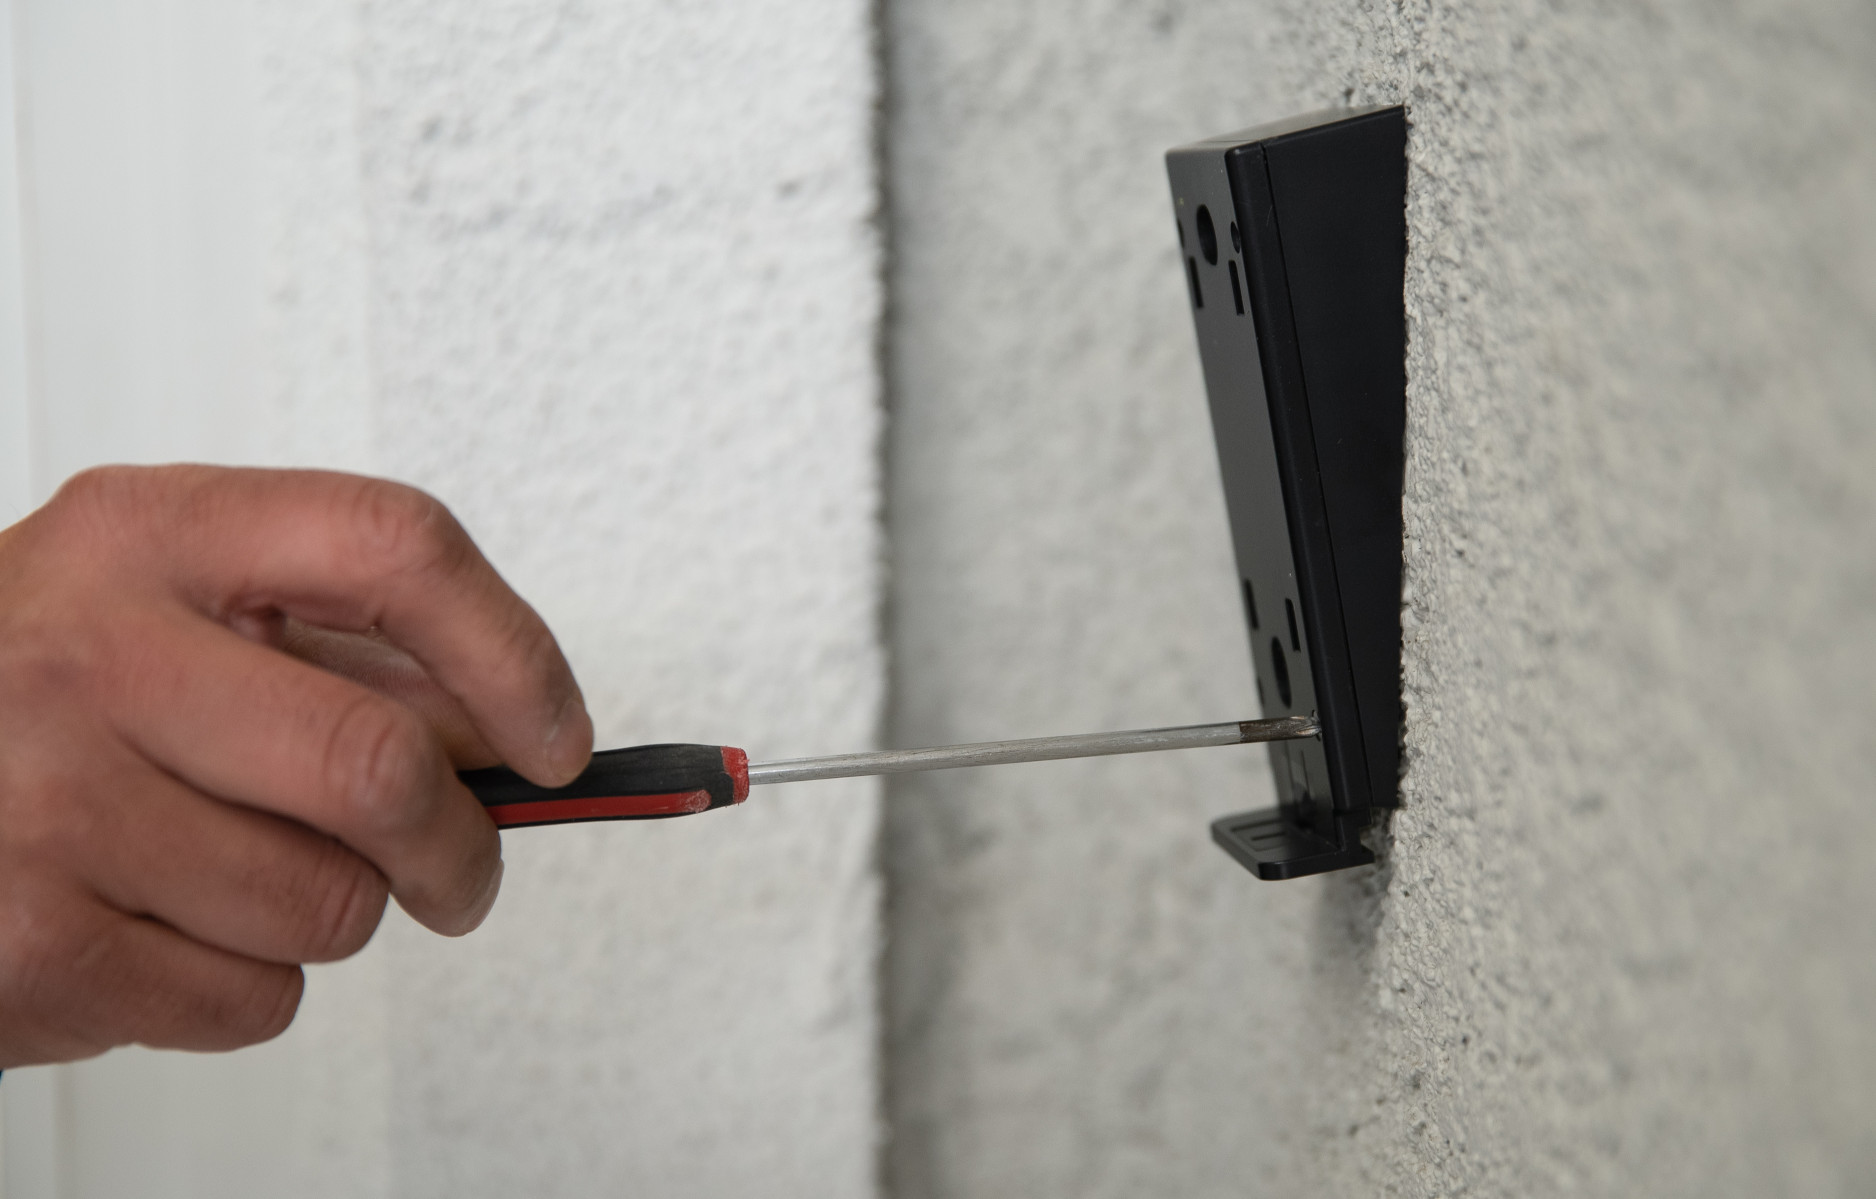
7. Place the mount over the two anchors and use the supplied screws to secure the mount in place.
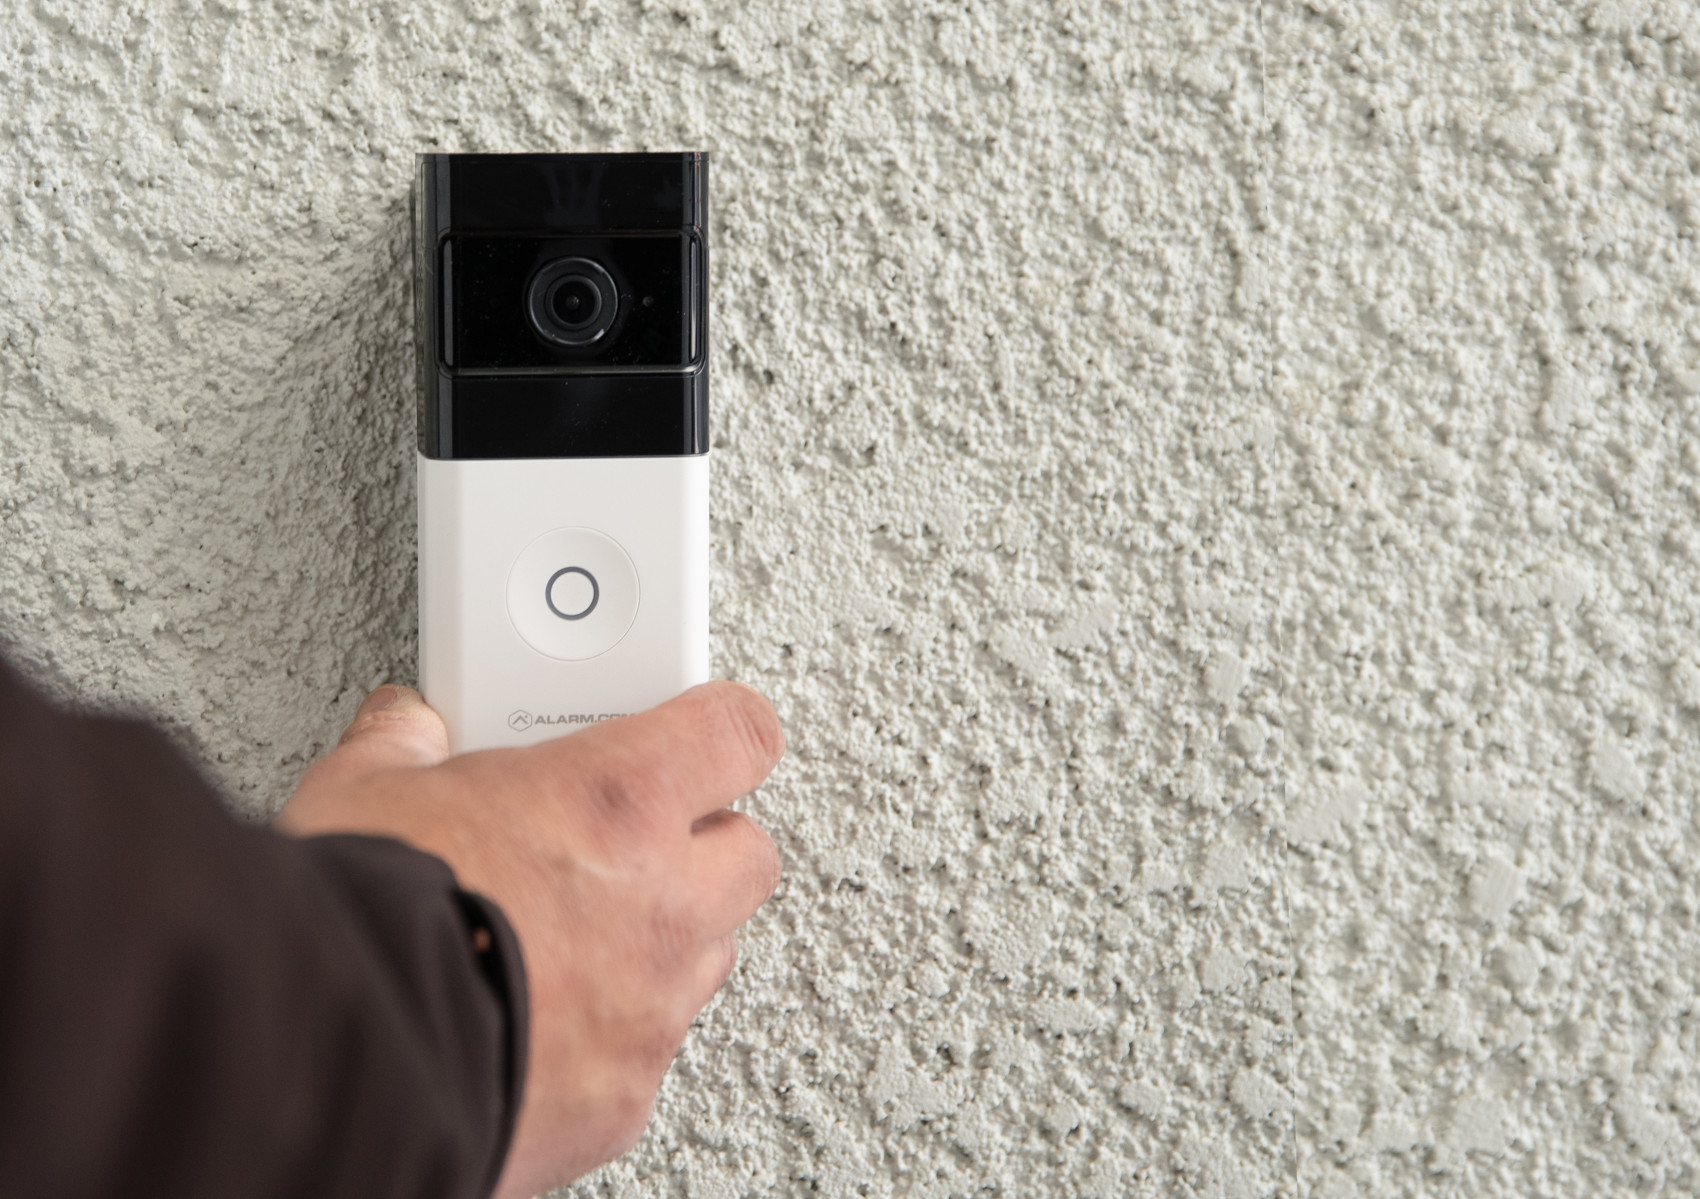
8. Align the prongs on the back of the doorbell with the 4 rectangular slots in the mount. Push the doorbell into the slots and slide down, until the device clicks into place.
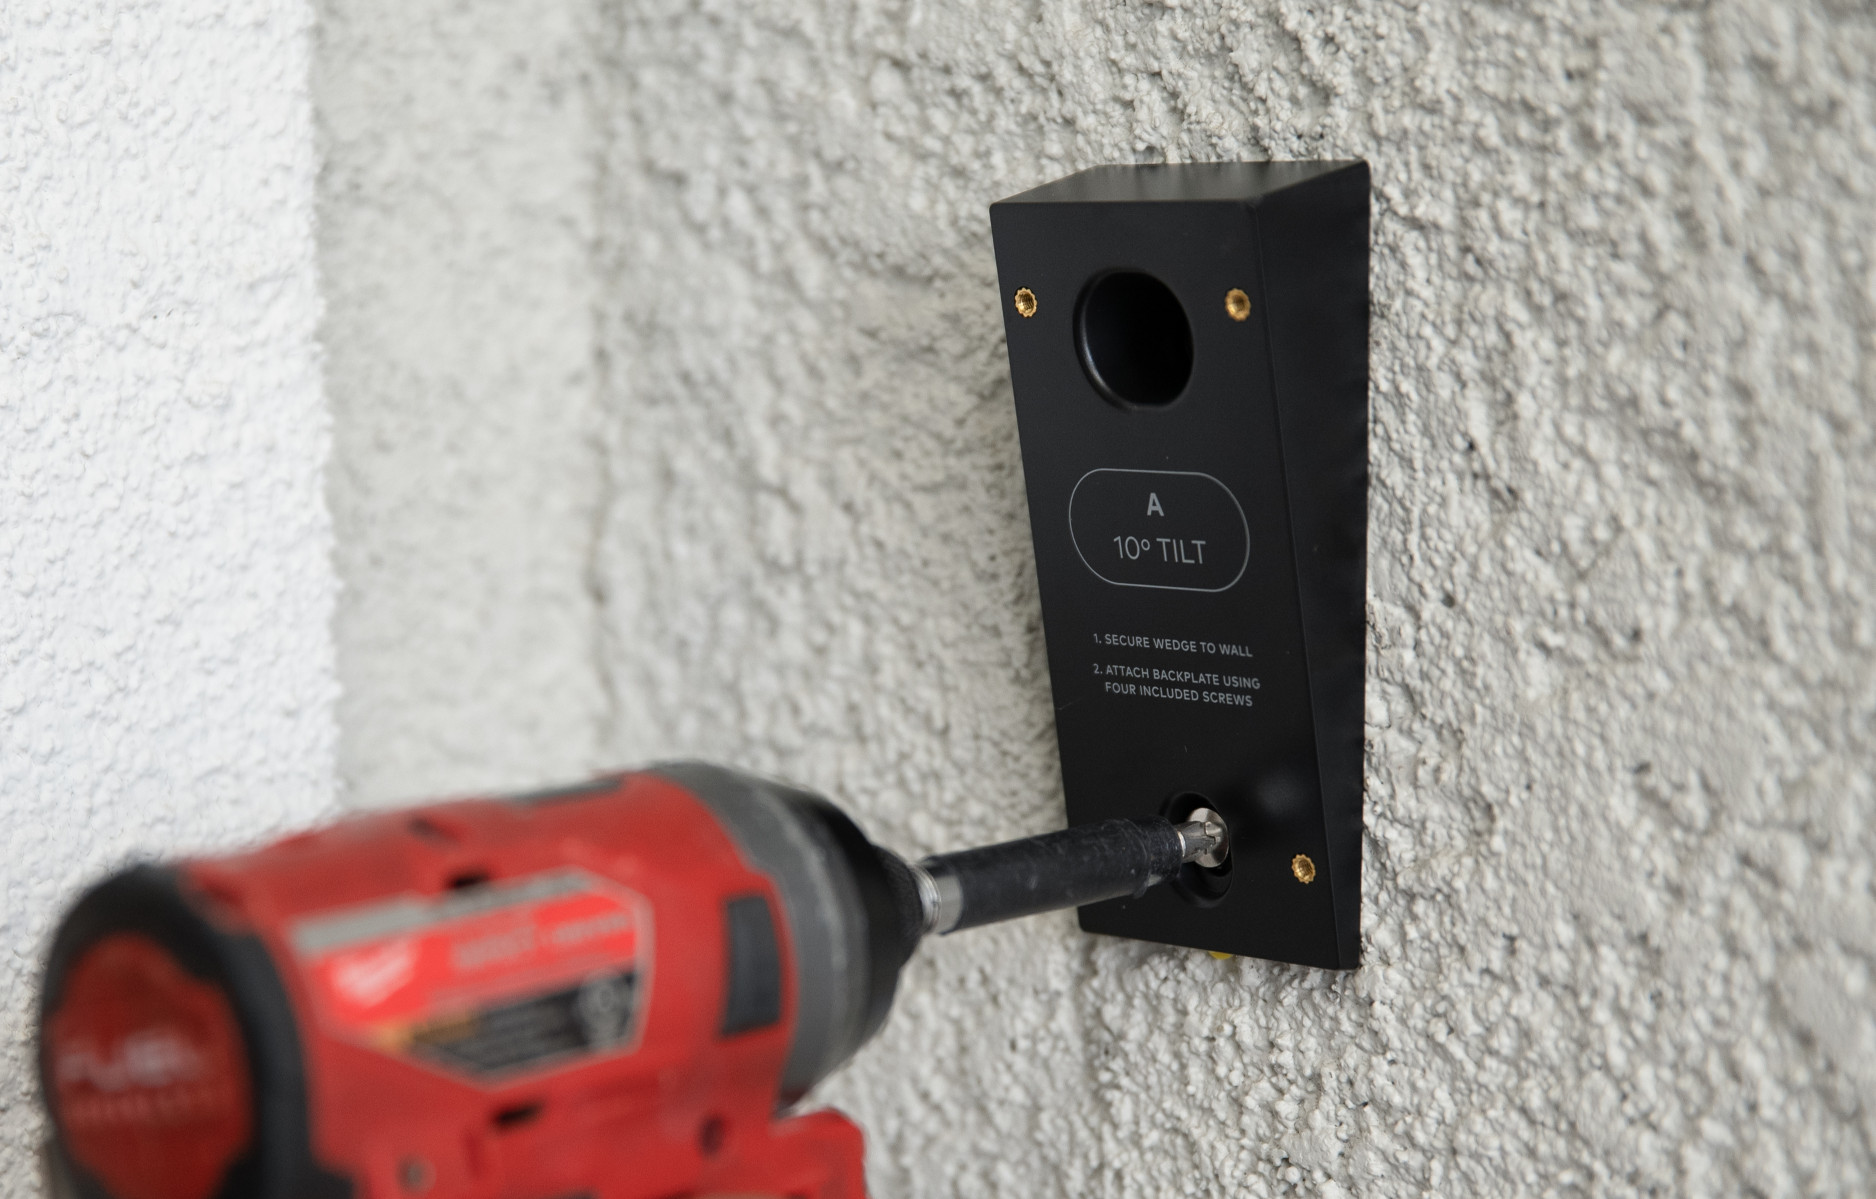
If you plan to use the 10° tilt wedge, follow these steps:
1. Secure the 10° tilt wedge to the wall. Use a 1/4” drill bit to create appropriately sized holes for the supplied anchors at your marked locations, then insert the anchors.
2. Place the title wedge over the two anchors and use the supplied screws to secure the tilt wedge in place.
3. Use the 4 small wedge screws to attach the mounting place to the tilt wedge.
4. Align the prongs on the back of the doorbell with the 4 rectangular slots in the mount. Push the doorbell into the slots and slide down, until the device clicks into place.
Charging Requirements
1. A 5V/1.5A USB wall charger
2. Supplied charging cable
Charging Steps
A fully depleted battery will take approximately 7 hours to charge. A fully charged battery should last for approximately 6 months.
1. Unlatch the bottom of the mount.
2. Remove the Battery Doorbell Camera from the Mount.
3. Separate the battery pack from the doorbell body.
4. Plug the supplied micro USB cable into the battery pack.
Controlling your device
Your Battery Video Doorbell can be controlled multiple ways with multiple functions. The following list includes some different ways to use your camera(s), depending on your preference.
-
View and interact with live stream:
Users can only view live video from a Video Doorbell using the following devices/platforms:
- The Smart Home Security app on an Apple or Android mobile device (e.g.,smartphone or tablet).
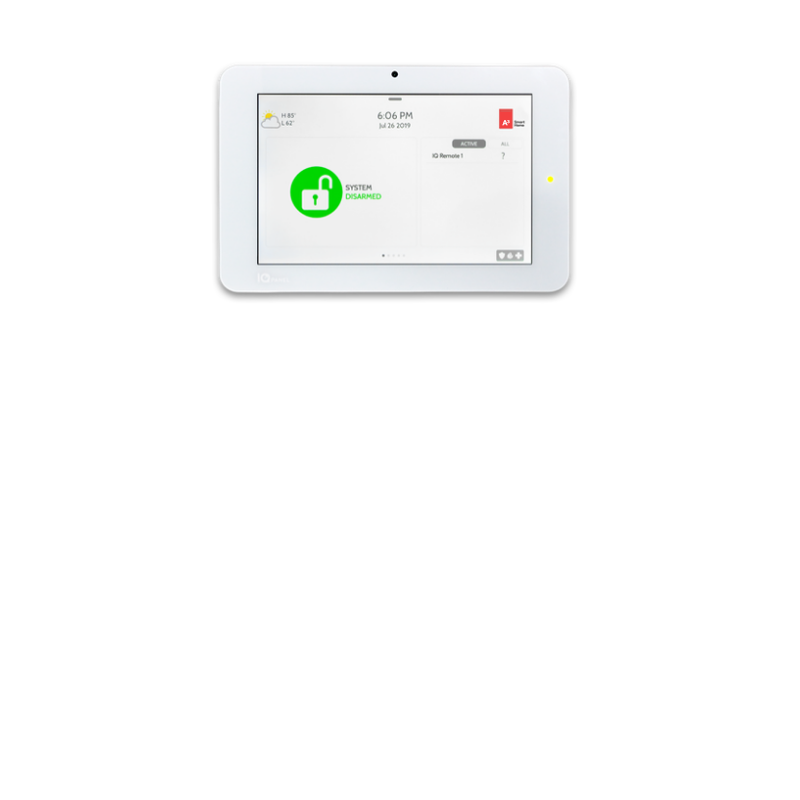
- Your touch-screen control panel (included with Professionally Monitored plans)
-
To start streaming your doorbell camera from the Smart Home Security mobile app:
- Log into your account on the Smart Home Security mobile app.
- Tap the Menu button (located on the top left).
- Tap Doorbell Camera.
- Tap Start Video.
- Tap and hold Hold to Talk.
- To end the call and exit from the live stram, tap End Call.